
How your team reaches work websites and web applications.
Add an internal web application or CMS site, or set up work websites in the browser. Choose who can use them. Your team signs in to BusinessProxy and opens the resources you have assigned.
You grant access. Your team signs in and opens the resource.
Add resources to your organisation’s workspace and invite employees or contractors. BusinessProxy checks their account and permissions before giving them access.
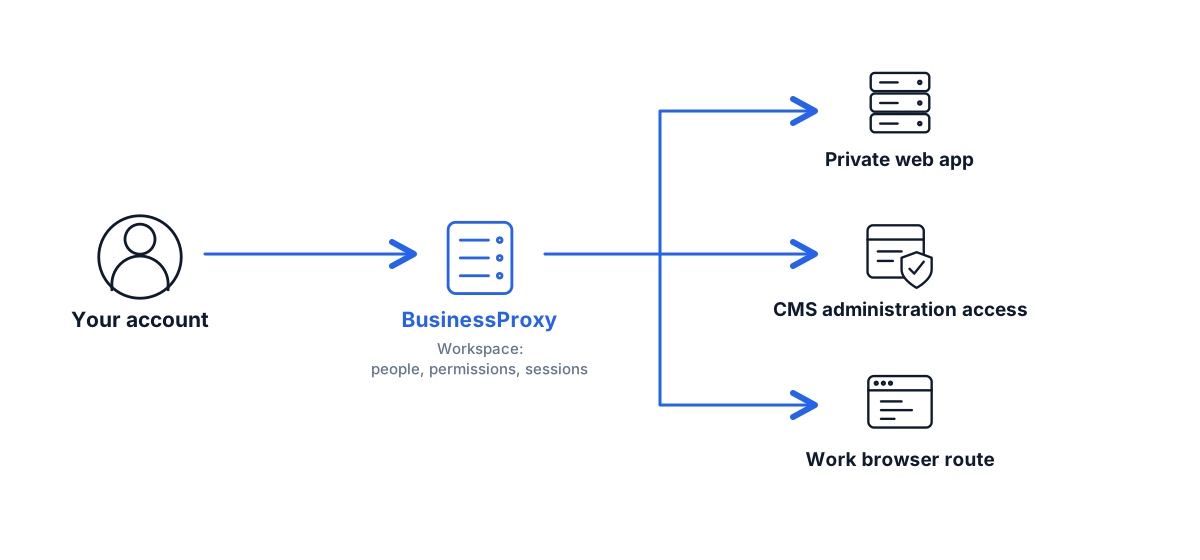
Three ways to connect
| Your task | What you connect | Connection method | Service |
|---|---|---|---|
| Internal web application | Give people access to an internal CRM, ERP or portal. | Publish it through an outbound connector and assign web application access. | Private web applications |
| CMS administration | Give a specialist access to WordPress or Bitrix administration. | Add the supported CMS module and choose Direct or Gateway. | CMS access |
| Work websites | Choose which work websites a user can open and how they connect. | Apply the extension settings, domain rules and the configured exit. | Browser access |
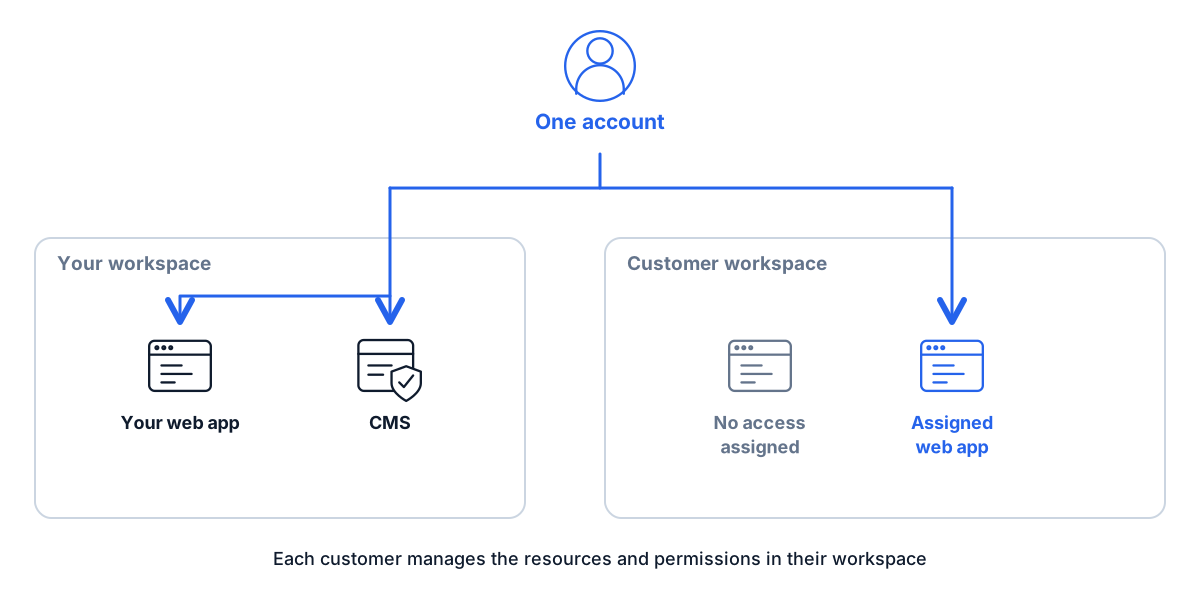
Employees and contractors use their own accounts
A customer invites a specialist and chooses which resources they can use. The specialist can accept invitations from several customers with the same BusinessProxy account.
Your organisation adds resources to its workspaces, invites employees or contractors and grants the access they need.
A specialist can switch between their own workspace and customer workspaces. This changes the available BusinessProxy resources. Use separate browser profiles for independent website sign-ins and cookies.
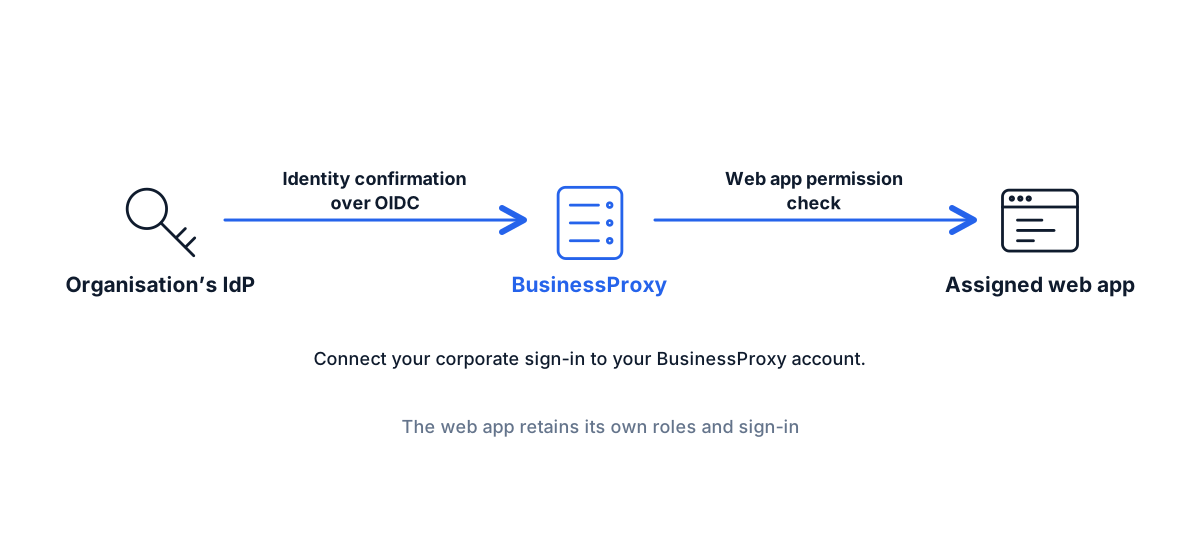
Sign in with a BusinessProxy or corporate account
Users sign in to their BusinessProxy account. Your organisation can also connect an OIDC identity provider. Users can link an AD FS account and use it for subsequent sign-ins.
Use a passkey or the configured MFA check when required. You still choose each person’s resource permissions: signing in or adding funds does not grant access.
From setup to the end of the job
Connect the resource
Choose the service and connection method. Check sign-in and everyday work in the web application or website.
Assign people and policy
Invite the user, select the resource and configure the supported session conditions.
Open the assigned resource
The user signs in and opens the web application, CMS or website through the portal, CMS module or browser extension.
Review and withdraw access
Review sessions and events. End the BusinessProxy session and revoke access when the work is complete.
Keep control of web application accounts, devices and data
Manage the web application’s own users and roles. Restrict direct access to its original address if everyone must enter through BusinessProxy. Independent web application sessions must be managed separately.
Install the extension through your browser management tools. Use your DLP and device controls for data handling beyond the browser access controls.
Export available access events to your monitoring tools so your team can review them.
PAYG for web applications, CMS sites and browser users
Pay for each web application, CMS site or Browser Proxy user from the moment you enable the service until you pause it. Closing a tab or ending a session does not stop charges. A CMS site’s linked Gateway web application is not charged again.
Connect your web application, CMS or browser
Follow the setup guide for your service, check access and invite your team.